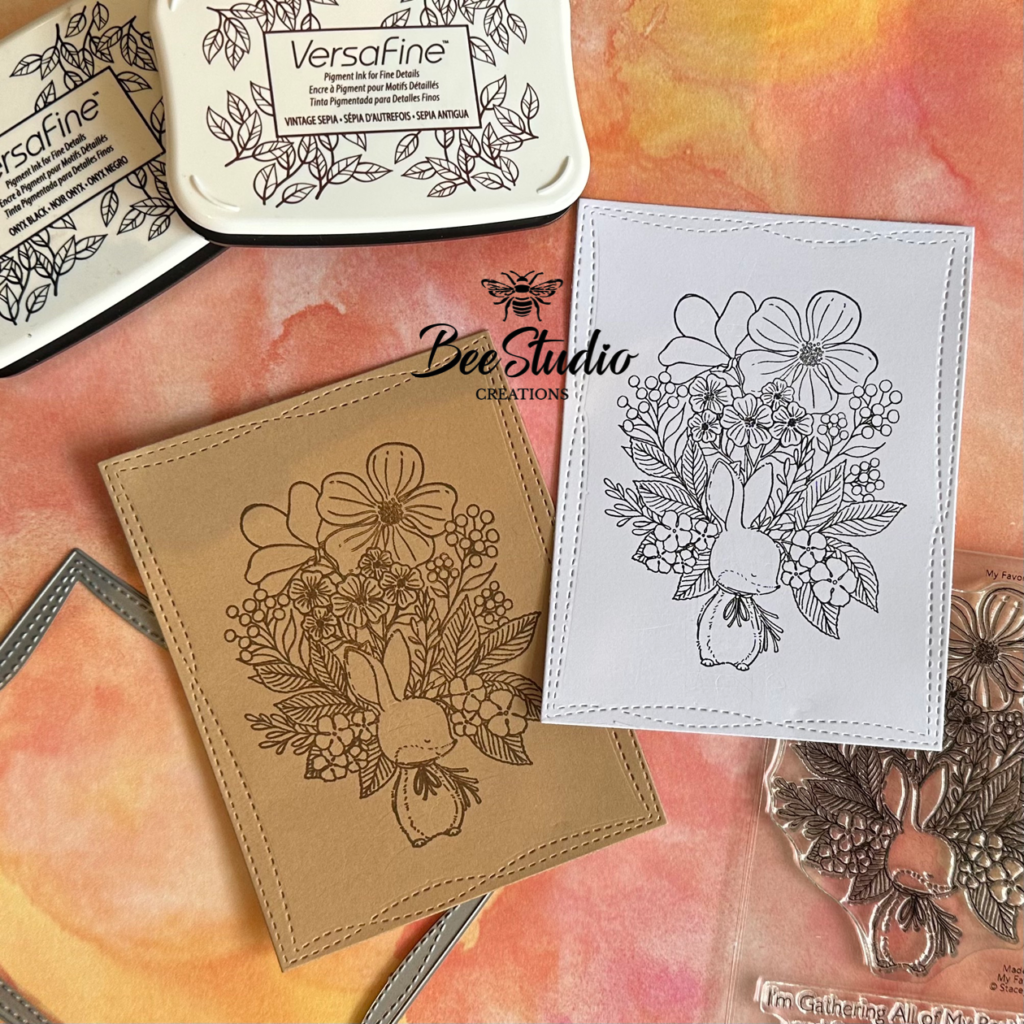
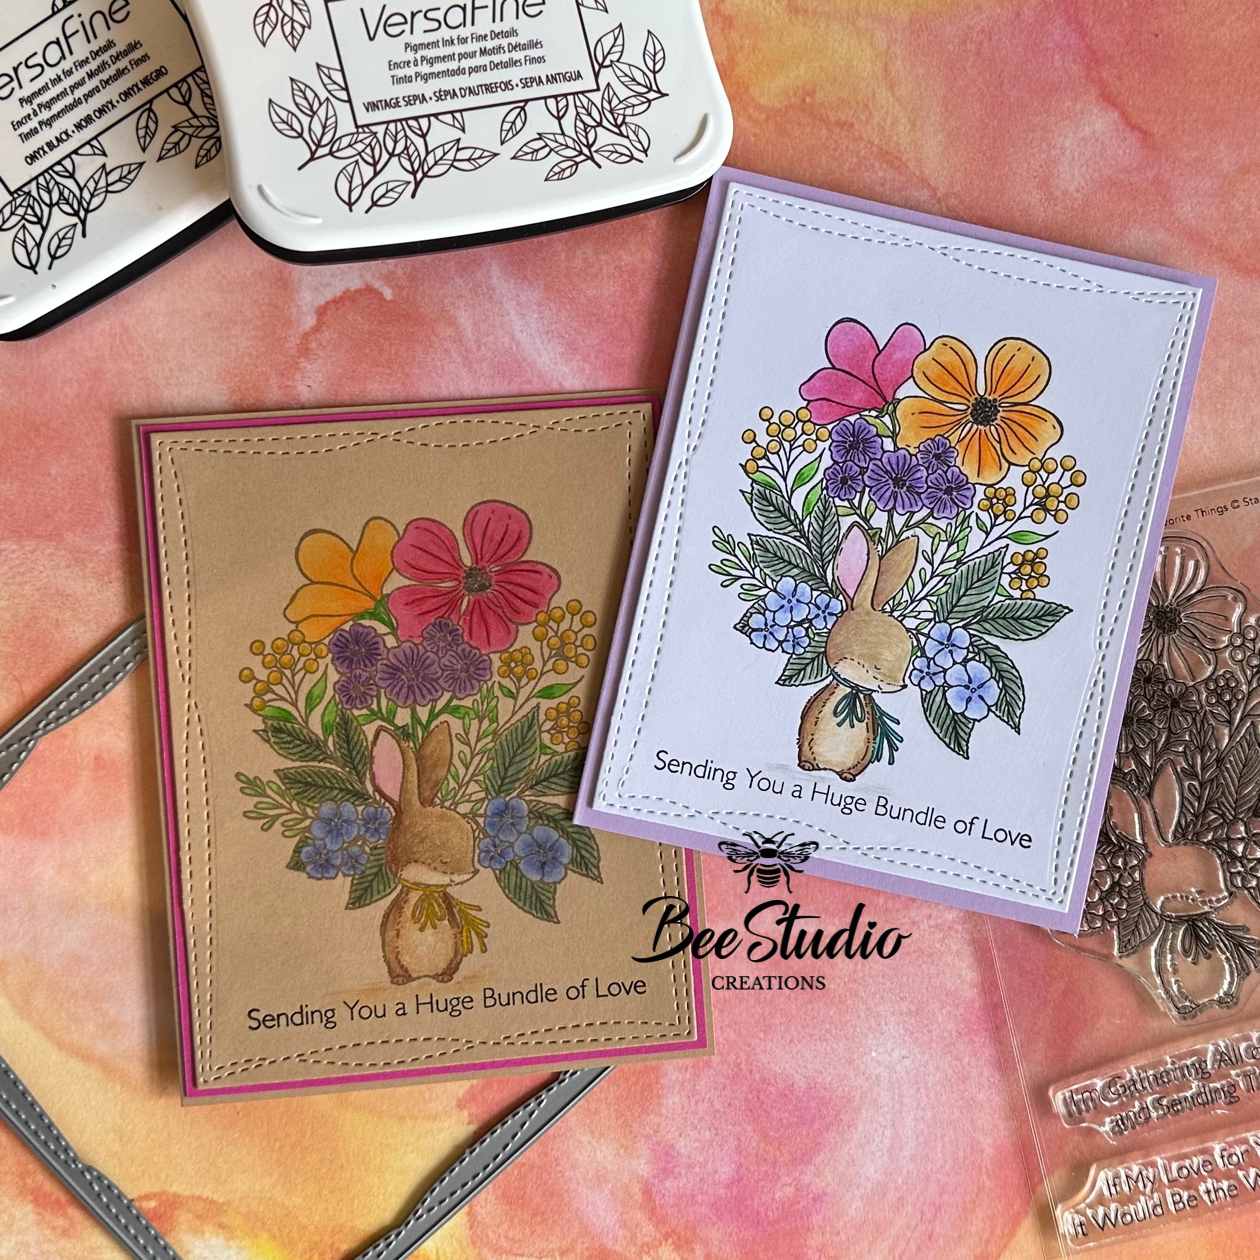
For these cards I started by die cutting 2 panels with the largest of MFT’s wonky stitched rectangles, one in white card and the other in a light brown coloured card from Papermill direct. I then used versafine ink to stamp the bunny image. I used onyx black on the white card and vintage sepia on the brown card.
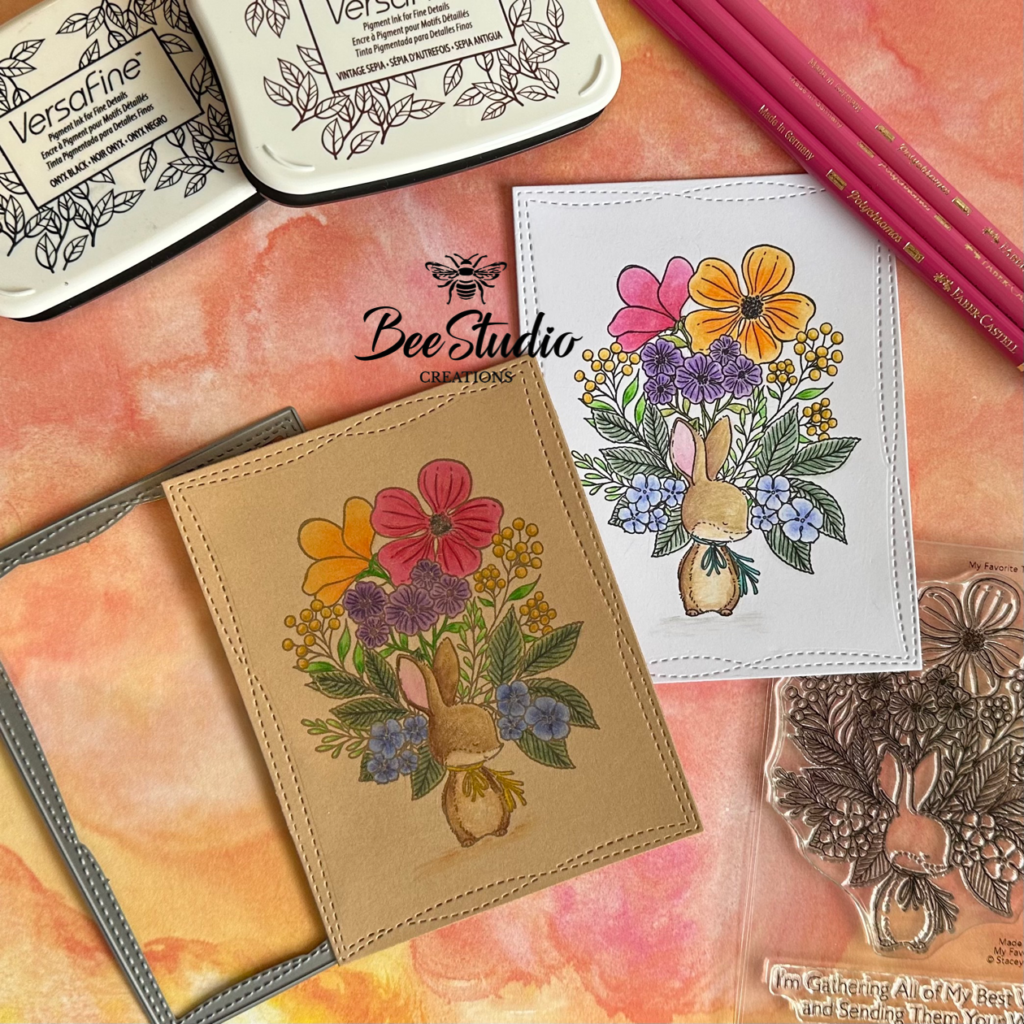
I then set to colouring the cute bunnies and their bouquets using my Faber-Castell polychromos colouring pencils. I used similar colours on both but switched up which flowers or leaves I used them on. This was the first time I have coloured an image on a different colour card to white and I have to say I really like the way it came out so I will definitely be playing around more with this.
Once I had finished colouring the images in I needed to decide how and where to put the sentiment. I originally thought I would have it on a sentiment strip but it just made them to busy and didn’t look quite right. So I kept it simple and stamped the sentiment under the bunnies keeping it a single dimension card.
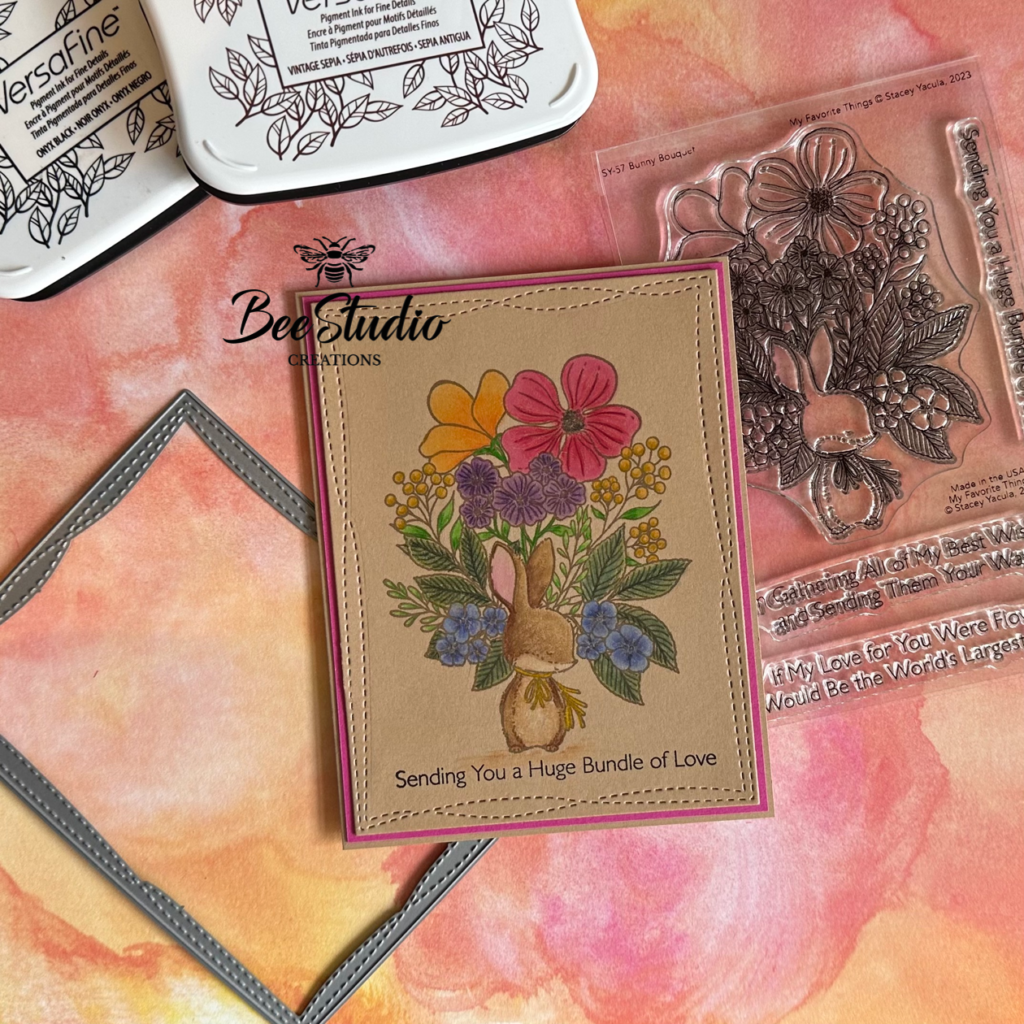
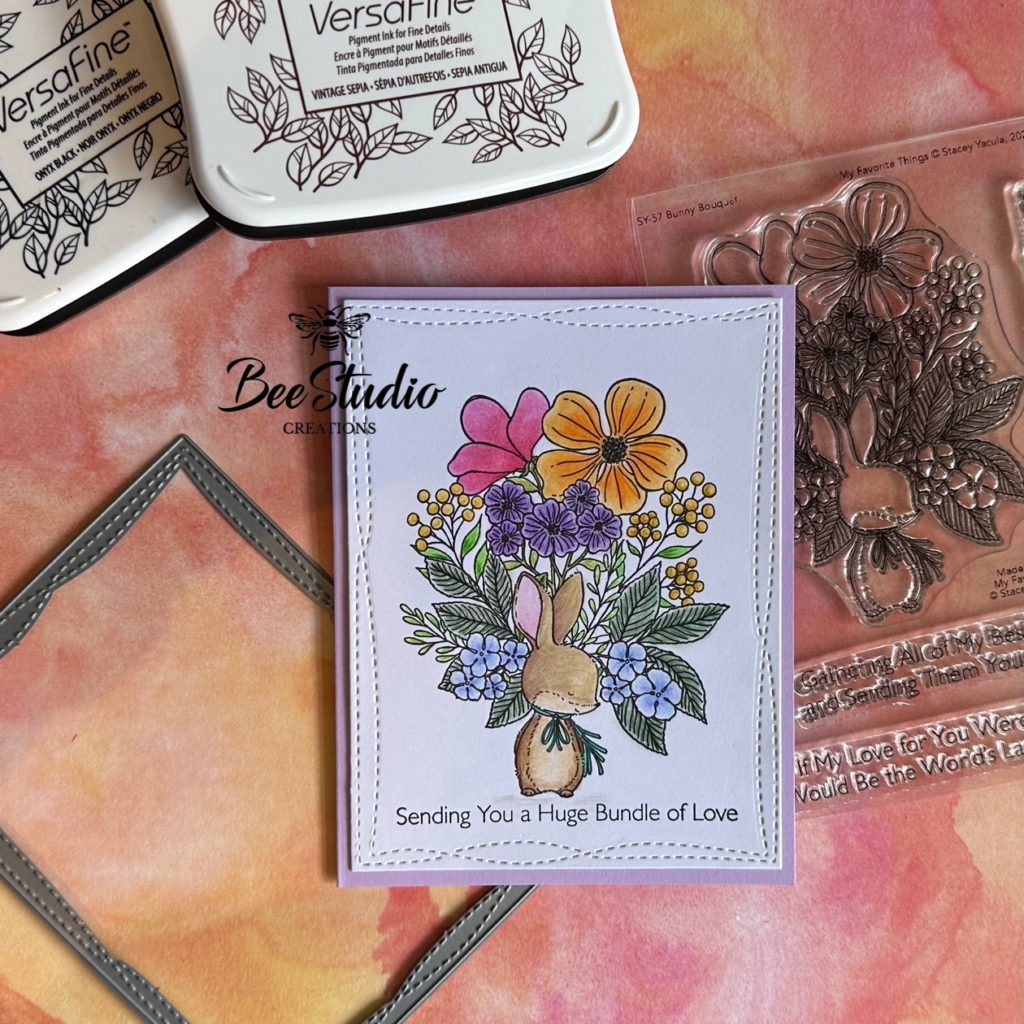
For the bunny on the brown card I added a splash of pink with a panel behind it and then attached it to matching brown card base. I stamped one of the other sentiments inside. For the bunny on the white card I tried a few different coloured card bases but decided on this light purple card from Papermill Direct, again I stamped one of the other sentiment on the inside and now they are all ready to go.
If you like colouring bigger images this set is a must, just think of all the different colour combinations you could use!
Thanks for stopping by, I have listed my supplies below.
- MFT – Bunny Bouquet
- MFT – Wonky Stitched Rectangles
- Paper Mill Direct – Pro Design 300gsm
- Paper Mill Direct – Buff Smooth Card 260gsm
- Paper Mill Direct – Lilac Plain Card 240gsm
- Paper Mill Direct – Raspberry Pink Plain Card 240gsm (discontinued)
- Versafine Onyx Black Ink
- Versafine Vintage Sepia
- Faber Castel Polychromos Colouring Pencils

Leave a Reply